STEP 1 – Design Process
During a one on one session you’ll get clarity on what you want in your design. We’ll brainstorm with you on preliminary ideas utilizing in-store samples and our expert, in-house designer.
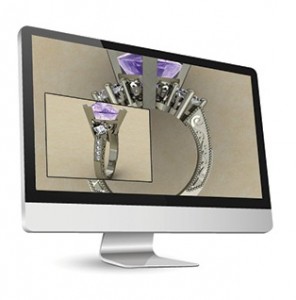
Your design is then entered into a specialized, jewellery design computer program generating a 3D image of your ring for you to approve.
Upon approval of your design, this program is used to produce the wax model.
STEP 2 – Wax Model & Casting
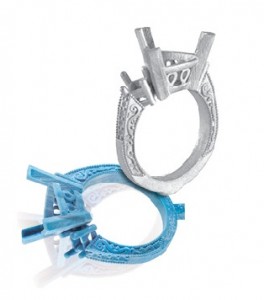
Your design is sent to 1 of 3 state of the art wax printing machines, chosen based on the exact technical needs of your unique design. See your wax model ring in your hand before it is enters casting. After your approval, the wax model is delicately cleansed and prepared for the next step.

STEP 3 – Your Polished Ring
Fresh Gold Only
From the wax model, a cast of your ring is created in your choice of metal. We only use fresh, never used gold for every casting. Craftsmanship is of utmost importance to us, and while it may be commonly accepted to repurpose scrap gold, we refuse to compromise the quality of our work. Reused gold can be difficult to set stones in and prone to cracking. Using only fresh, never used gold ensures your stones are set perfectly creating an unmatched look and strength.
Making it Shine
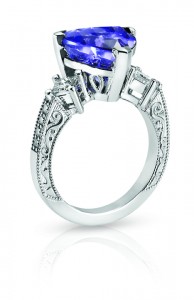
We use sophisticated cleaning instruments that remove every last imperfection from your ring. The ring is then put through a 9 Step polishing process, revealing the beautiful shine of gold.


